Showing posts with label Pinterest Project. Show all posts

Monday, September 10, 2012

Keep Calm and Sew On!


SO.... I have been impatiently waiting for Blake to arrive. I have wanted to start a new sewing project for a while now (ever since I finished the other 2 quilts). I didn't want to start something because I just knew as soon as I made a big mess by getting out all the fabric and laying it out, and got started he would make his appearance.

Well on Saturday, I could not just sit around. Reading wasn't a distraction. Cleaning wasn't a distraction. Pinteresting quilt ideas was not a distraction. So instead I decided, What the Heck... I'm going for it. I went to my pinterest board and looked for ideas that would be relatively easy to make. Here is my inspiration from the Moda Bake Shop.


I decided to use the Sew Stitchy fabric line from Moda.
So instead of making a mess at my house... I decided to bring everything over to my mom's house to work Her sewing area is much bigger than mine and it has nice windows to look out. (and if I went into labor... the mess would be at her house... Sorry Mom! :) )

I made the quilt as the pattern said up until the end. I do not like short, "squareish" quilts. They need to be functional. I like a quilt that I can put my entire body under and curl up. I added an extra row of squares to the top and bottom of the quilt to add 10 inches. Here is the finished quilt top!


I can not wait to drop it off at the quilter's and see what amazing things she can do with it. 

Deborah Lane Quilting is Awesome! 

Here is a link of the quilts that she has quilted for me.

Thursday, August 16, 2012

Feeling Crafty Today! :)

So... I was up at school this afternoon helping out with registration. The afternoon was a bit slow, so I got on my iPad and started to Pinterest. I could Pin for HOURS!! The problem is that sometimes I do nothing after I have pinned it. So one of my new "resolutions" was to actually DO some of my Pins. So I got inspired today!

Finished Project!


Here is my Inspiration Pin!


I started out by going to the store to get the supplies. Luckily Joann's had their canvases on sale for 50% off!! (so I bought a pack of 3... thought I could do this as a gift for others as well). I also bought paint, a coarse paint brush, sponge brushes, and candy :). I love that I can use the Joann's App to get coupons as well! SCORE!

Once I got home, I laid out my messy cloth and painted the canvas red with the coarse brush. I wanted to be able to see the brush strokes. HELPFUL TIP: I took a plastic container and placed it inside a Ziploc bag then put the paint inside it. No clean up!


After that, I tore out the pages of an old  (falling apart and much loved) Cat in the Hat book. 


From there I went to my computer and researched quotes from Dr. Seuss to use. There are so many good ones that I could not decide. I gave my hubby 3 choices to choose from. He said, "You're not going to actually use the one I pick anyways, so what does it matter?" Therefore, I had to use his choice. Which I like anyways or I wouldn't have given him the option. :)

I typed the quote into Word and selected a font that I liked and that I thought I could replicate. 

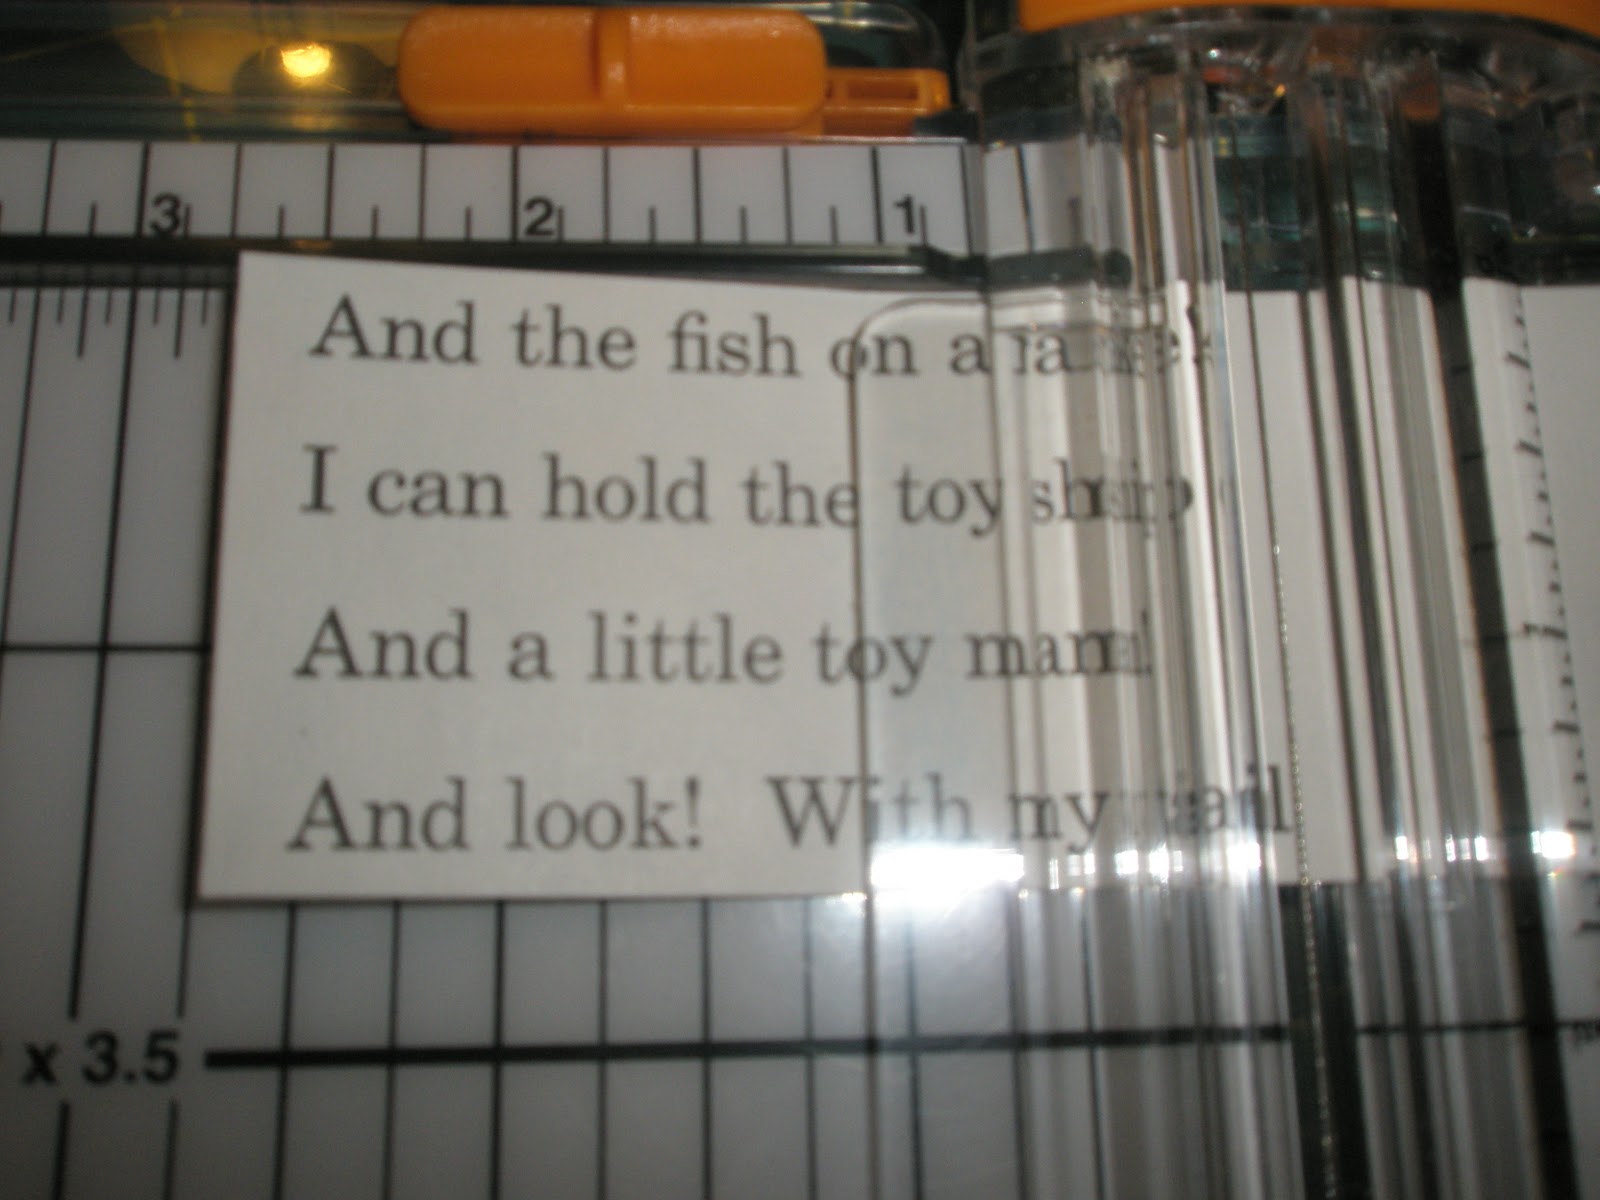
From there, I cut out groups of verse from the Cat in the Hat pages that I had torn out. I also cut out the words that I had printed off from the computer. 


Now, to figure out how to get the words from the printed page to the pages from the book. I think that I have pretty neat handwriting but I didn't want it to be in my handwriting. SO, I came up with an inventive solution. I used a 9x13 clear baking dish and and light that would shine through the side to create a light box. Of course, if you have light box, use it!


I then placed each word onto different parts of the book and very carefully traced the letters using a Sharpie marker. I didn't do the words in order, I tried to make sure that they fit well on the parts of the book that I had cut out. 


After all of the words were traced, I went back to the canvas and took some blue paint and embellished the edges. I didn't want the painting to be too red. 


Then I took a break from the project to start this blog post and look at the inspiration project again. At this point, I decided to test out the Sharpie markings to see if the Mod Podge would make it bleed. Thankfully it did not so I decided it was ok to start mod podging the words onto the canvas. I laid out the words where I wanted them and then glued each one individually. I covered the entire back with Mod Podge so that the edges would be sure to stick. 


 Then I got brave, VERY VERY BRAVE, and wrote ~Dr. Seuss..... BY HAND onto the canvas. And I think that I did a pretty good job of it!


Now I had to decide which embellishments to add to the canvas. The inspiration picture had flowers... not sure that I wanted to do that for Blake's room... So I went to her Etsy shop to look for other ideas.

I printed off some starts to cut out and see how they looked.... I like them so I traced the stars that I cut out, then painted them onto the canvas.


Here is the canvas with the stars painted on. 


Once the paint dried, I covered the entire canvas in Mod Podge. I wanted to make sure that the words were sealed all the way. 

Here is the finished project again!


Saturday, July 21, 2012

Playing around on the computer...

Just Playing around with MS Word today....


... I am wondering if I am skilled enough to make something like this....


After a little bit more playing.... I think I might be able to do it! (Not ready to reveal the name to the world so I used a friend's darling daughter to try it out!)


Wednesday, July 18, 2012

Pinterest Project #1- Art Made from Children's Book Pages


 Ok, so I am not sure if this really counts as a Pinterest  Project because apparently I did not actually pin my inspiration picture and I can not find it with the keywords that I can think of... But either way, it is a DIY project for our Children's book themed nursery! So here goes...

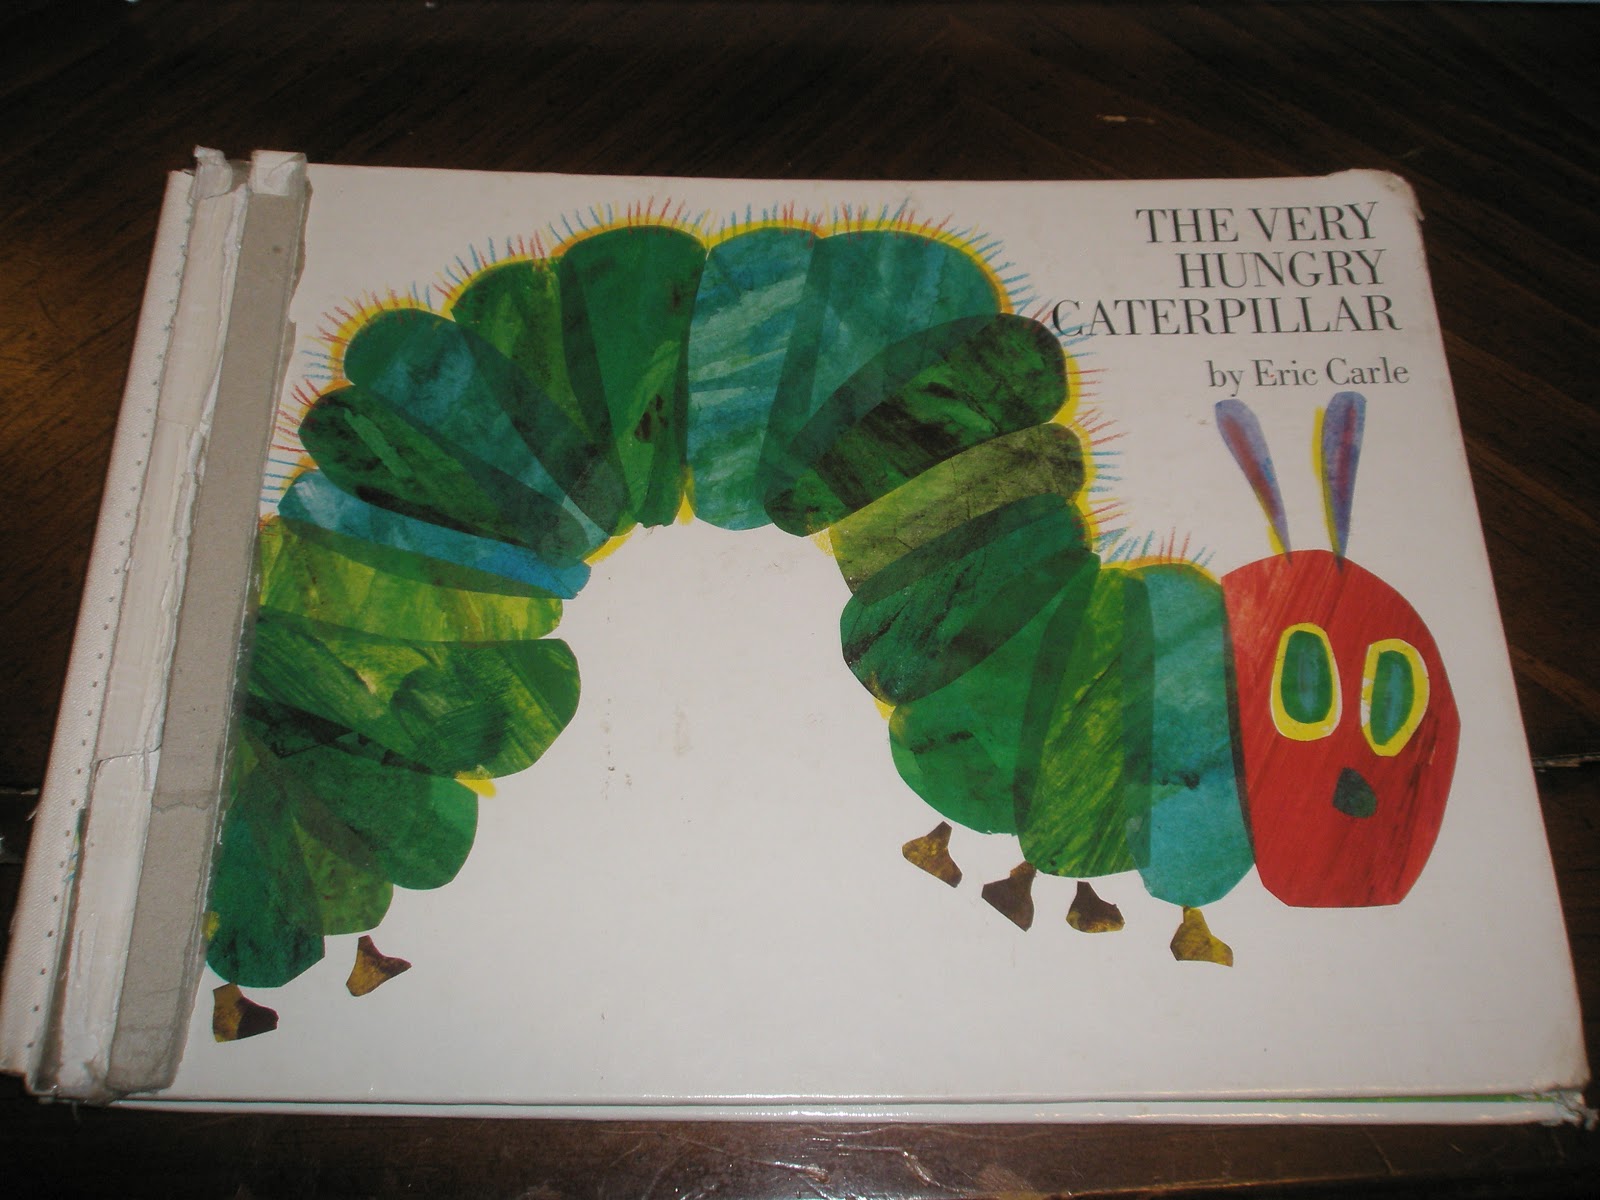
I started planning decorations for the nursery by thinking of my favorite children's books. And of course Eric Carle and his Very Hungry Caterpillar popped into my head. Being a kindergarten teacher, I can easily find books within my own library that are... well lets say... They are very well loved! So much so that they are falling apart! 


I decided to give this much loved book a new purpose in my son's new room. Therefore, I started this project by taking the book apart. The spine was already falling off so I didn't have to do much there. I took my seam ripper and carefully ripped out all the stitching that held the book together. 


After that, I cut a few of the pages apart and rearranged them on the 11 x 14 inch canvas in different ways. Originally I was going to hang the project landscape, but after multiple attempts at rearranging I found that portrait allowed me to get all the parts of the book that I wanted on the canvas. 


Once I had decided upon a layout, I trimmed the edges with my paper cutter to make it smoother, cut off the holes were the stitching came through, and crop the parts of the pages to the size that I needed for the finished project. 


After this, I took a much needed ice cream break.... Then, back to work. 

I arranged the parts onto the canvas to make sure that everything lined up correctly. I then took all the pages off and tried to decide where to start. I decided to start with the smaller pieces at the bottom. I covered the bottom of the canvas with Mod Podge and the arranged the pieces on top. I covered it with parchment paper and placed 2 large cook books on top of it. I was trying to get all of the edges to lay flat. 

After about 30-45 mins, I removed the books and parchment paper and covered the top with the Mod Podge. 


I repeated this part with all of the other pages to be added to the canvas. After it was all said and done, I allowed the canvas to dry overnight. Well this morning, this is what I found. 


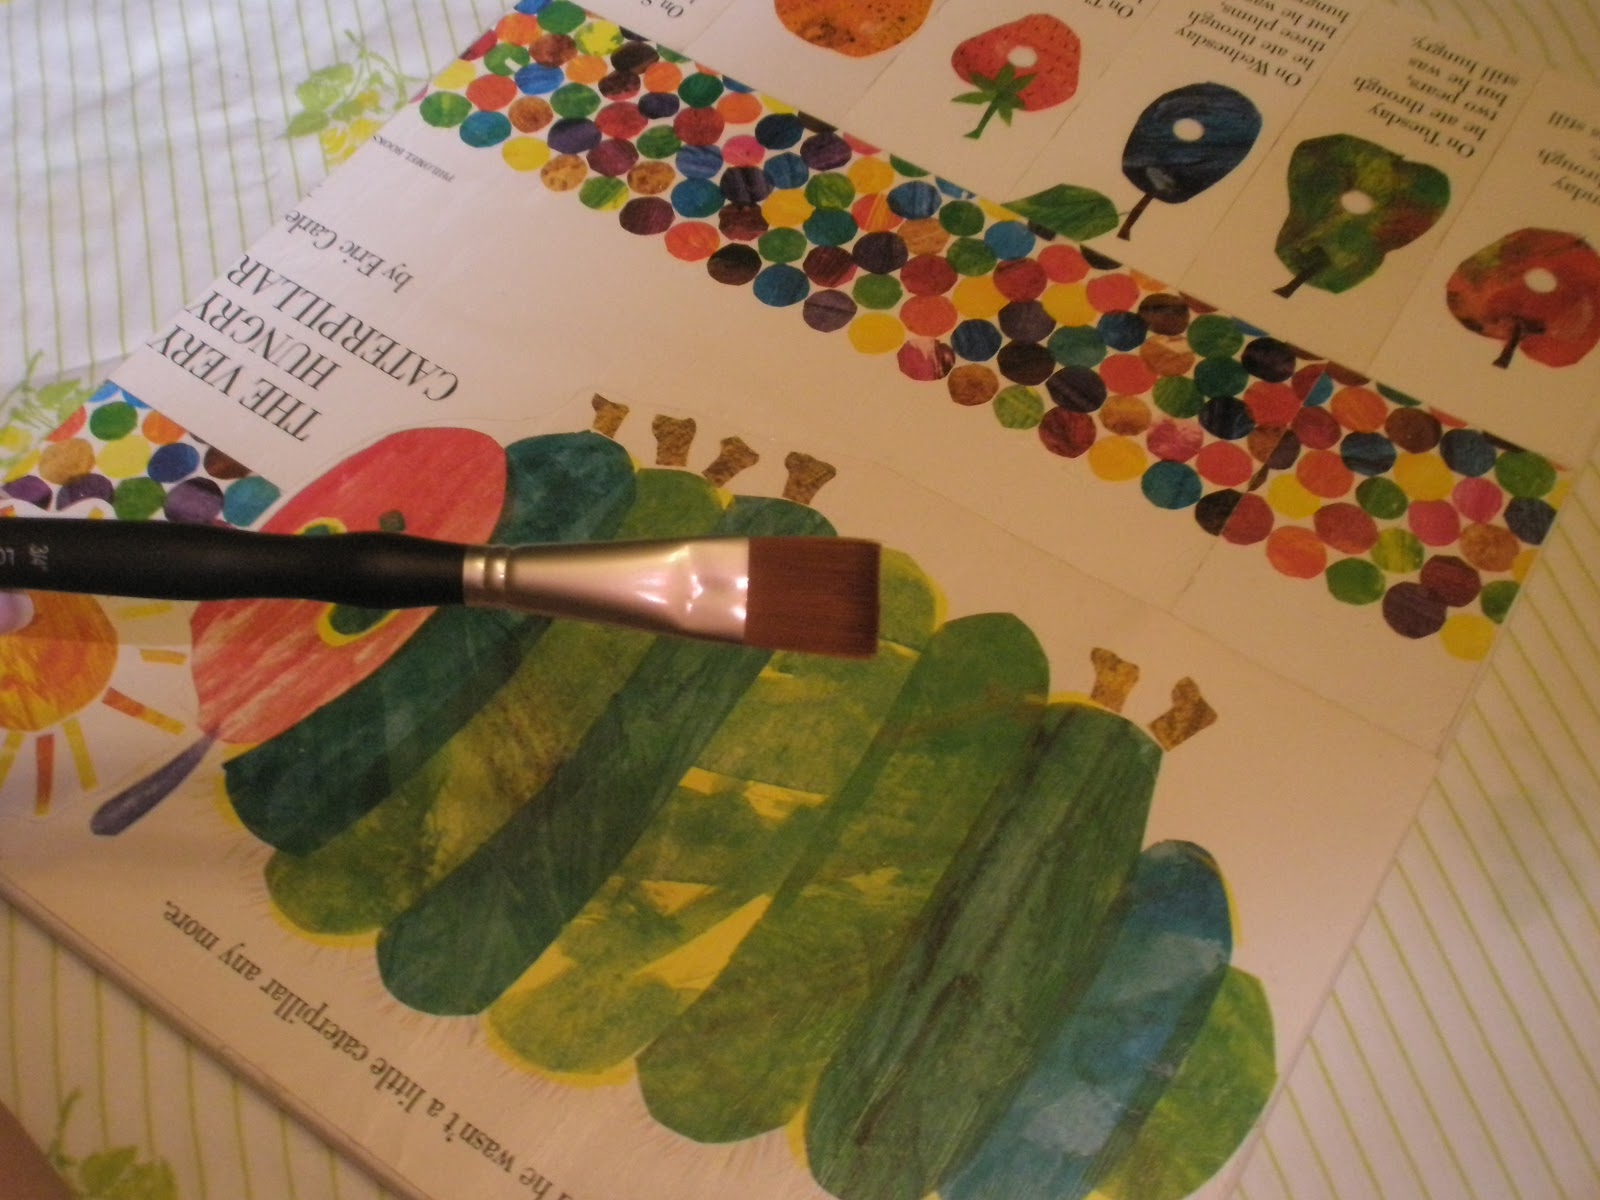
The picture really doesn't show it, but there are brush strokes on the canvas. I wasn't too thrilled about that. So I went to the handy dandy internet to try to find a solution to my problem. I them went shopping for a softer, finer bristled brush to try it again. I lightly sanded the canvas and applied a much thicker coat of Mod Podge with the new brush. 


After the entire canvas was finished, it had a white coating to it. 


After drying 2 days, (and me getting distracted), we finally hung the project in the nursery. Here is the finished project.


Things that I would do differently when I do it again:

1. The Very Hungry Caterpillar book that I used has thick, glossy pages. If I were to do something like this again, I would use a book with paper pages. I think that it would stick better to the canvas and not buckle. (there is one bubble in the project)

2. I would use a roller brush. I have read online that it eliminates the brush strokes. There aren't many on the project, but there are a few.